Learning objective:
This reporting process will allow you to identify the customers who are scheduled for an upcoming autopay, but whose last autopay failed (declined). The processes below will outline how to identify both those whose last autopay declined, and another process which will help you isolate those customers scheduled after an upcoming autopay, but whose last autoapy was successful
Step 1: Customers who Declined Last Month and are Scheduled this Month
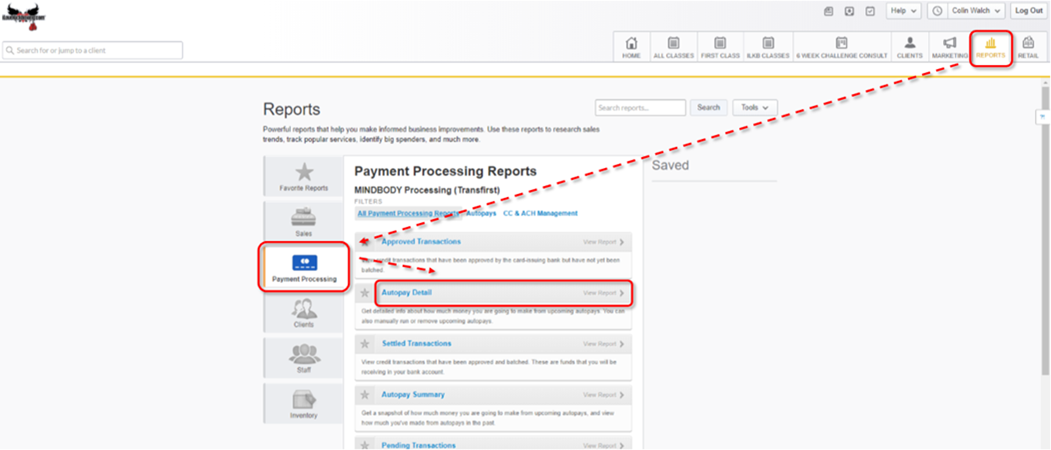
- Go to the Reports tab
- Select Payment Processing
- Select the Autopay Detail report
- Enter Filter Information
- Start Date: First day of last month
- End Date: Last day of last month
- Status: Declined
- Location: This should be set to the location the report is being run for, and is only an option for sites with multiple locations.
- Click the Tag New button (little man with Yellow tag)
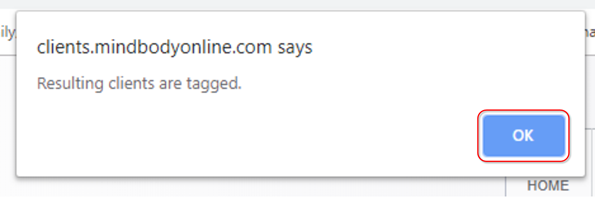
- You will see a popup indicating the “Resulting clients are tagged.”
- Click OK
- Once you have successfully tagged the customers who declined last month, update the Filters section Information
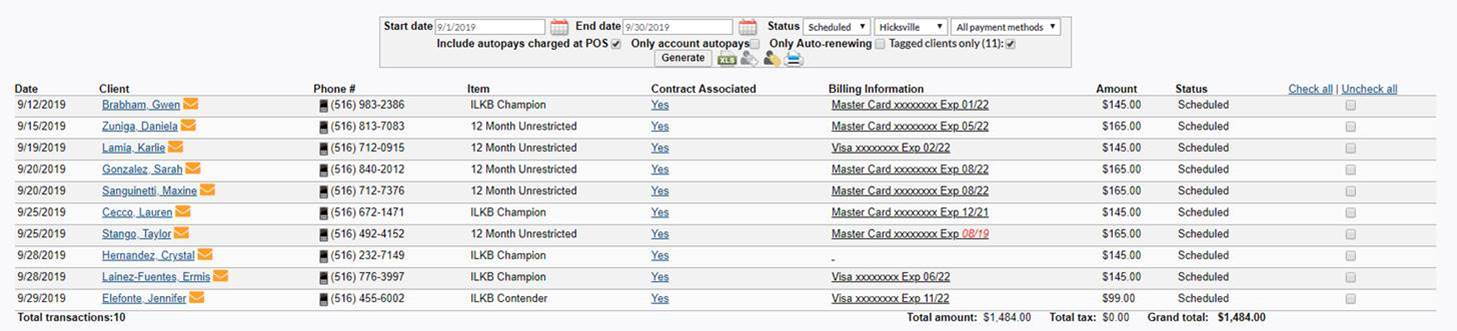
- Start Date: First day of current month
- End Date: Last day of current month
- Status: All
- Location: This should be set to the same location selected to tag the declined customers
- Make sure to activate the Tagged Clients Only checkbox
- Click the Generate button
- The results will reflect customers whose autopays were Declined last month, and are scheduled for another autopay this month.
Step 2: Customers whose Last Month’s Autopay was Successful and are Scheduled this Month
- Go to the Reports tab
- Select Payment Processing
- Select the Autopay Detail report
- Enter Filter Information
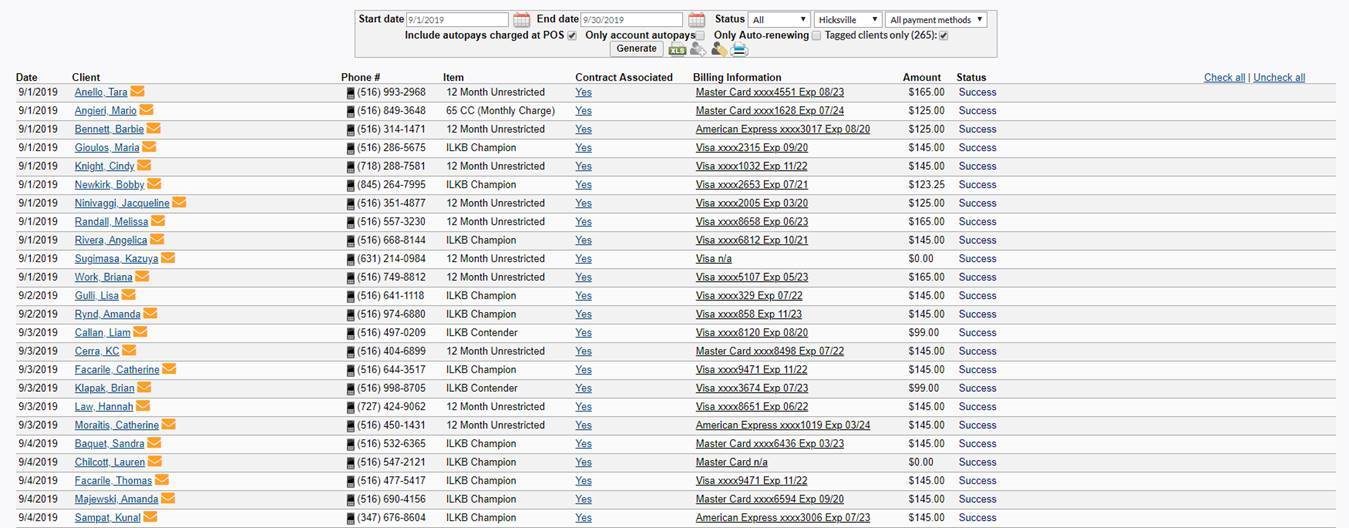
- Start Date: First day of last month
- End Date: Last day of last month
- Status: Successful
- Location: This should be set to the location the report is being run for, and is only an option for sites with multiple locations.
- Click the Tag New button (little man with Yellow tag)
- You will see a popup indicating the “Resulting clients are tagged.”
- Click OK
- Once you have successfully tagged the customers who declined last month, update the Filters section Information
- Start Date: First day of current month
- End Date: Last day of current month
- Status: All
- Location: This should be set to the same location selected to tag the declined customers
- Make sure to activate the Tagged Clients Only checkbox
- Click the Generate button
- The results will reflect customers whose autopays were Declined last month, and are scheduled for another autopay this month.